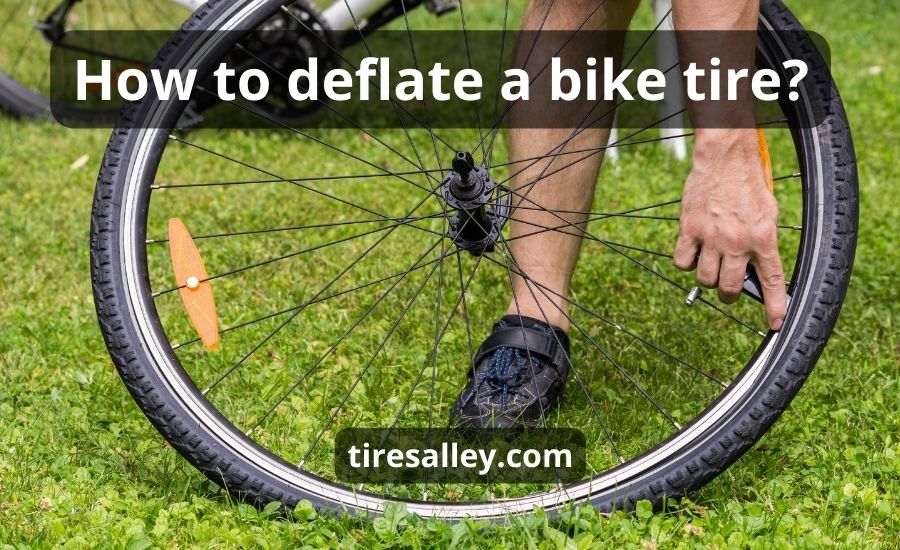
How to deflate a bike tire? Cycling is an amazing activity: it brings us joy from the speed and beautiful scenery, gives a robust workout making the body fit and strong, and provides an eco-friendly way of transportation, too.
Being able to maintain your bike is important, as you never know the challenges the road’s prepared for you. Whether you’re an avid cyclist or an occasional rider, knowing how to deflate a bike tire is a valuable skill.
In this comprehensive guide, I will take you through the essential steps of deflating your bike tire, providing valuable insights on different valve types, tire pressure, and the tools you need for a smooth ride.
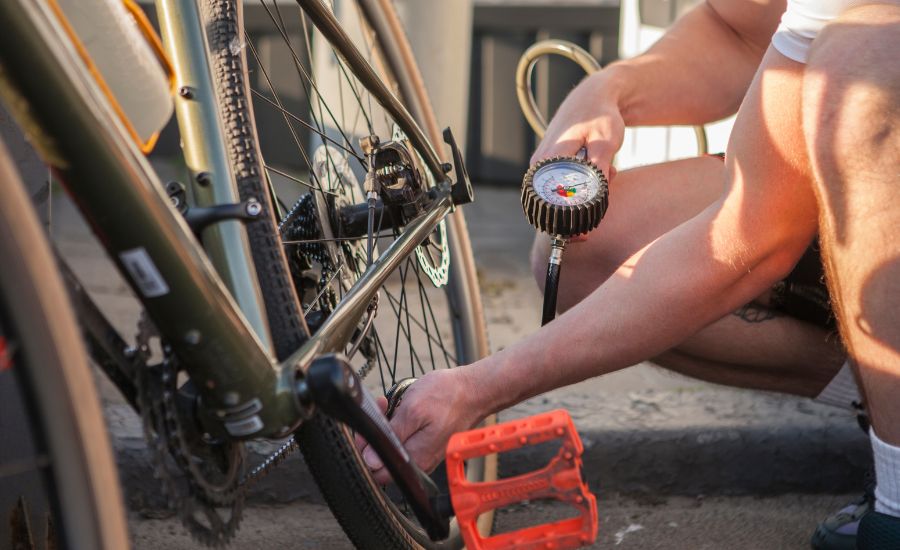
Contents
Exploring various valve types
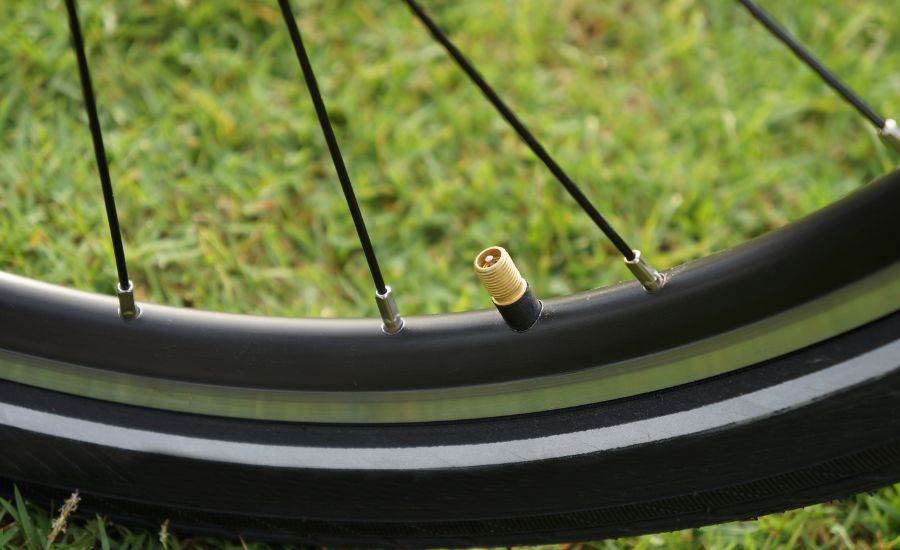
Bike tires come equipped with different valve types, including Schrader, Presta, and Dunlop valves. Each valve type has its unique features and requires specific deflation techniques.
I will guide you through the nuances of deflating bike tires with Schrader, Presta, and Dunlop valve types to ensure you can tackle any situation with confidence.
How to deflate a bike tire with a Schrader valve
If your bike is equipped with Schrader valves, which are similar to the valve type found on car tires, deflating the tire is a straightforward process.
Here’s a step-by-step guide on how to properly deflate a bike tire with Schrader valves:
Step 1. Before you begin, make sure you have the necessary tools on hand. You’ll need a tire pressure gauge, a cap remover or a small metal object like a screwdriver or a key, and a flathead tool for releasing air.
Step 2. Find a flat and stable surface to work on. Ensure your bike is securely positioned, either on a bike stand or by turning it upside down to access the bike tires more easily.
Step 3. Unscrew the rubber cap on the Schrader valve. The cap is a small, cylindrical rubber cap that covers the stem. This step allows access to the valve core for deflation.
Step 4. With the help of the cap remover, push down the core’s valve pin. You’ll notice a hiss-like noise as the air begins to release. Continue to depress the core until the air has been expelled from the tire completely.
Step 5. Once you’ve released the air completely, it’s a good practice to double-check that the tire is completely deflated. You can do this by gently pressing on the tire sidewall to confirm that it no longer feels firm or has any resistance.
Step 6. After ensuring that the tire is deflated, replace the cap on the Schrader valve.
Deflating a bike tire with a Schrader valve is a fundamental skill that can come in handy for various situations, from routine maintenance to addressing issues with your bicycle tire pressure. Remember to handle the valve and tools with care to prevent any damage or accidents during the process.
How to deflate a bike tire with a Dunlop valve
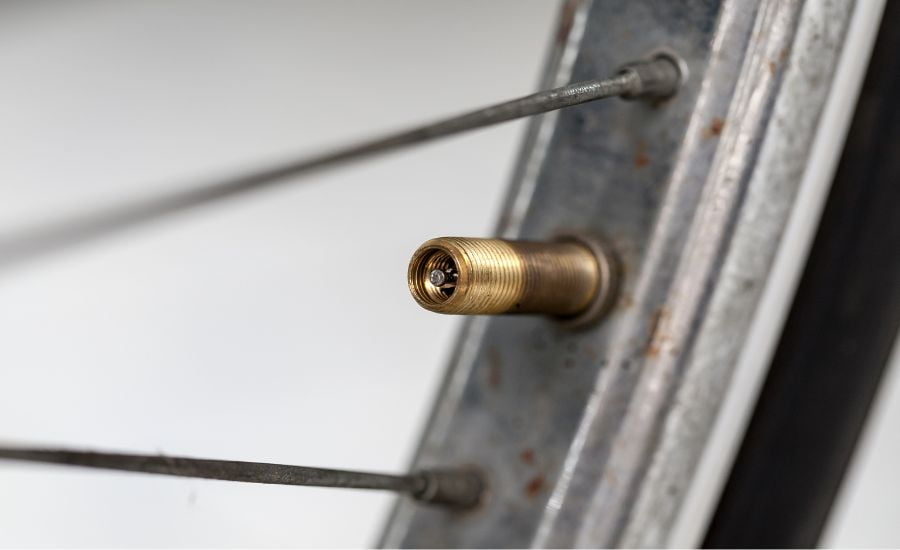
Dunlop valves, also known as Woods valves, are commonly found on some older bicycles.
Here’s the guide:
Step 1. Before you begin, ensure you have the necessary tools at hand. You’ll need a cap remover or a small-sized metallic object, a flathead tool for releasing air, and a workspace where you can safely access your bike’s tires.
Step 2. Identify the Woods valve on your bicycle tire. It has a unique appearance, characterized by a round, cylindrical shape with a metal pin in the center. Unlike Schrader or Presta valves, Dunlop valves don’t have a removable core, making the deflation process a bit different.
Step 3. Unscrew the cap from the Dunlop valve. The cap is a small, cylindrical cap that covers the valve stem, similar to other valve types.
Step 4. To deflate the tire, you’ll need to use a flathead tool, like a screwdriver or a similar item. Gently press the flathead tool against the metal pin in the center of the Woods valve. Applying light pressure will cause the valve to open, releasing air from the tire.
Step 5. After the air release, make certain the tire is entirely deflated. You can do this by gently pressing on the tire’s sidewall to confirm that it no longer feels firm or has any resistance.
This step is crucial, especially if you’re planning to perform maintenance, change tires, or adjust tire pressure.
Step 6. Once you’re certain the tire is deflated, screw the cap back onto the Woods valve. The cap helps keep dust and debris out, maintaining the integrity of the valve.
How to deflate a bike tire with a Presta valve
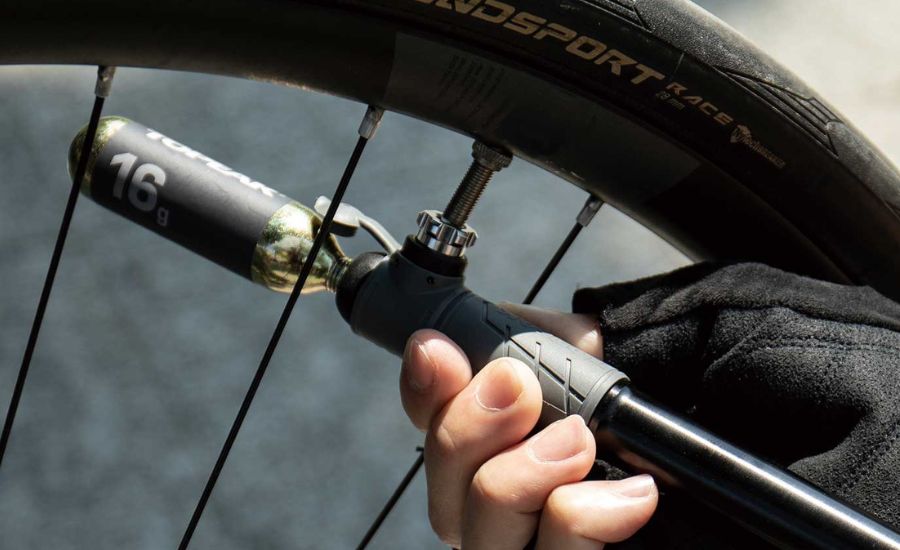
Presta valves, commonly found on road bikes and some mountain bikes, require a slightly different approach when deflating compared to other valve types.
A Presta valve has another commonly used name – a French valve.
But we’ll stick to Presta as it’s the one we always use.
Here are your guidelines:
Step 1. A special Presta valve adapter is an essential tool, apart from a cap remover or a small metal object, a flathead tool for releasing air, and a workspace with access to the bike tires.
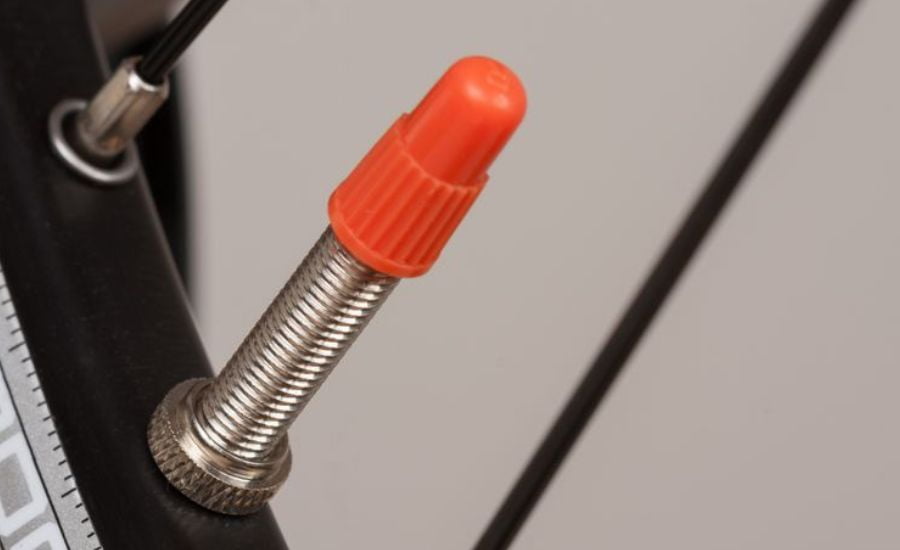
Step 2. Presta valves are slender and have a top section that can be unscrewed. Unlike Schrader valves, Presta valves don’t have a core that needs to be depressed to release the air.
Step 3. Remove the brass cap (or the plastic dust cap) and loosen the nut: unscrew the brass cap from the Presta valve. Presta valves have a locknut on the top, unlike other types. Loosen the locknut by turning it counterclockwise.
Step 4. Release air from the Presta valve to deflate the tire. Press the flathead tool against the top of the Presta valve’s pin slightly. The pin does not have a spring mechanism, so it will remain in the open position, releasing air as long as pressure is applied.
Step 5. After releasing the air, double-check that you managed to completely deflate the tire. You can do this by gently pressing on the tire’s sidewall to confirm that it no longer feels firm or has any resistance.
Step 6. Once you’re certain the tire is deflated, tighten the locknut on the Presta valve by turning it clockwise. This secures the valve and helps maintain its integrity. Finally, screw the valve cap back onto the Presta valve.
Why we deflate bike tires
How much pressure do we need for the ride to be delightful and safe? While most cyclists are familiar with the importance of inflating their tires to the recommended pressure, their deflation can be required for various reasons, too. Here’s when and why you might need to deflate a bike tire.
#1. Changing riding conditions
When transitioning from smooth trails to rough or muddy terrains, lowering the pressure can enhance traction and stability.
Slightly deflated mountain bike tires provide better grip and absorb shocks, ensuring a smoother ride on challenging off-road paths.
#2. Road conditions
In urban environments with potholes or uneven road surfaces, slightly reducing tire pressure can improve comfort and reduce the impact of road imperfections on your bike’s frame and your body.

#3. Repairing flat tires
When you encounter a flat tire while riding, deflating it completely is the first step in the repair process. This allows you to assess the damage, locate the puncture, and patch or replace the inner tube as needed.
#4. Adjusting tire pressure
Depending on your riding style and preferences, you may want to fine-tune the pressure. Some cyclists prefer slightly lower pressure for added comfort and grip, while others opt for higher pressure to reduce rolling resistance.
#5. Fitting or removing tires
When changing tires, deflating the tire completely makes it easier to work with, particularly when fitting tightly fitting tires onto the rims.
#6. Valve maintenance
If you need to perform maintenance on the tire valve, such as replacing the core, you must deflate the tire to access the valve components.
#7. Transportation and storage
Reducing tire pressure during bike transportation, especially when packing the bike in a box or carrying it on a rack, can help protect the bike tires and rims from potential damage.
It’s essential to note that the degree of deflation required depends on the specific situation.
For instance, when adjusting the pressure for changing riding conditions, only a moderate reduction may be necessary. On the other hand, repairing a flat tire requires complete deflation.

Conclusion
Knowing how to deflate bike tires is a fundamental skill that complements the art of inflating one. The ability to release air from your bike tires when necessary is essential for adapting to changing riding conditions, conducting repairs, and making adjustments to enhance your overall cycling experience.
From understanding the intricacies of different valve types like Schrader, Presta, and Dunlop, to mastering the deflation process itself, this comprehensive guide has equipped you with the knowledge and confidence to handle your bike tires and their pressure with finesse.
So, get out there, explore new terrains, tackle unexpected challenges, and ride with confidence, knowing that you know how to handle any deflation situation that comes your way.
FAQ
What is the fastest way to deflate a bike tire?
The fastest way to deflate a bike tire is by using a tool like a core remover to release air quickly.
How do I deflate a bike tire?
To deflate a bike tire, follow these steps:
1. Remove the cap.
2. Depress the core using a tool like a cap remover or a small metal object.
3. Ensure all the air is out.
4. Replace the cap to keep the valve clean.
How do you deflate a bike inner tube?
To deflate a bike’s inner tube, do the following:
1. Detect the valve on the inner tube.
2. Remove the cap.
3. Depress the core with a tool like a cap remover.
4. Ensure all the air is released.
5. Place the cap back.
How do you deflate a Schrader valve?
To deflate bike tires equipped with Schrader valves, follow the steps below:
1. Remove the cap.
2. Depress the valve core using a valve cap remover.
3. Secure the air is released entirely.
4. Put the cap back in place.

